Image Processing with Python
Table of contents
- Basic Operations
- A First Animation Example
- Pixel Manipulation
- Changing To Grayscale
- Changing Color Brightness
- Fun With Animation
- More Fun with Animations
Basic Operations
Loading and Displaying Images
Python provides several libraries for image processing, with the most popular ones being PIL (Pillow). To get started, let’s do the following:
- Install the Pillow library if you haven’t already. You can do this using pip: Windows:
pip install PillowmacOS/Linux:
pip3 install Pillow - Download the following image (link) and save it with the name
wikipedia-balls.jpgin the same directory as your Python script. - Use the following code to load and display the image:
from PIL import Image

image = Image.open('wikipedia-balls.jpg')
image.show()
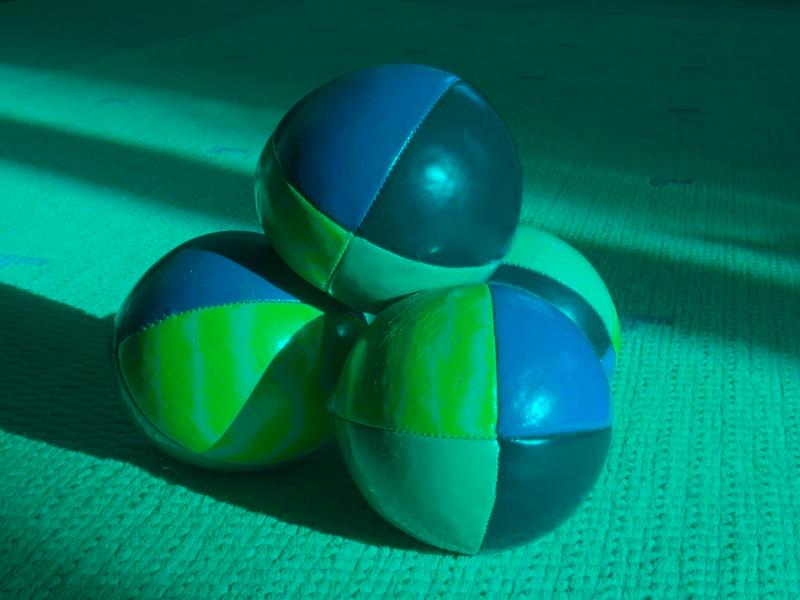
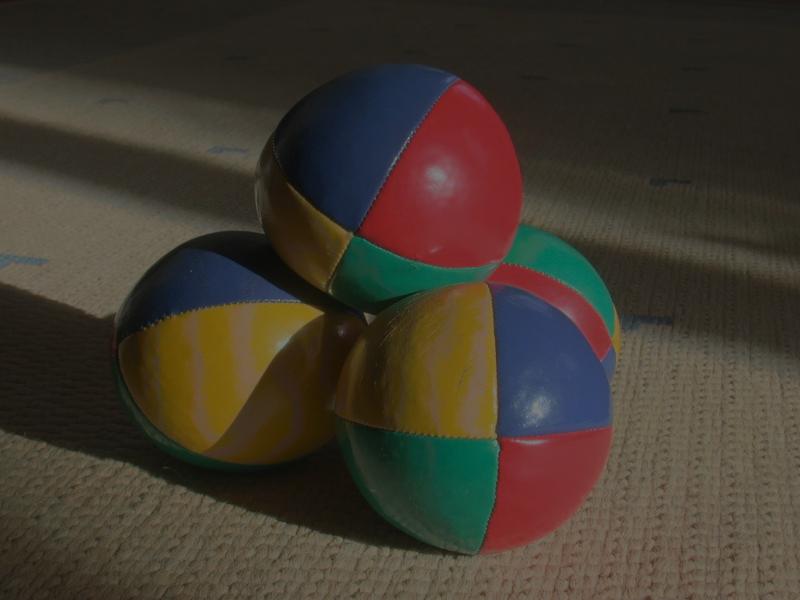
This should open the image in your default image viewer. You should see the following image:

Resizing and Rotation
Once you have loaded an image, you can perform various operations on it, such as resizing and rotating:
# Rotate the image by 45 degrees
image = image.rotate(45)
image.show()

# Resize to 200x200 pixels
image = image.resize((200, 200))
image.show()
Saving Images
After processing an image, you can save it to a file using the save method:
image.save('processed-image.jpg')
This will save the processed image as processed-image.jpg in the current directory. You can specify a different path if needed. For example:
image.save('C:\\Users\\YourUsername\\Pictures\\processed-image.jpg')
A First Animation Example
An animation is simply a sequence of images displayed quickly one after another. We can create animations by generating a series of images and saving them together into a single GIF File. GIF is a popular format that supports simple animations like the following:
To create such an animation, the idea is simple: We will rotate the image, save it as a frame, rotate it again, save the next frame, and so on. Finally, we will combine all the frames into a single GIF file.
from PIL import Image

# Load the original image
original_image = Image.open('wikipedia-balls.jpg')

# Create rotated frames
frames = []
for angle in range(0, 361, 10):
    rotated_image = original_image.rotate(angle)
    frames.append(rotated_image)

# Save as GIF
print('Saving GIF...')
frames[0].save('rotation_animation.gif',
               save_all=True,
               append_images=frames[1:],
               duration=100,
               loop=0)
This code will create a GIF file named rotation_animation.gif that shows each frame of the image for 100 milliseconds. The save function takes the following parameters:
duration: The time each frame is displayed (in milliseconds). Try changing the duration to20or400to see how it affects the speed of the animation!loop: How many times the animation should repeat. A value of0means it will loop indefinitely. A value of1means it will play once, and so on.append_imagesandsave_all: Used to include all the frames in the GIF. Always use them in this way when creating animations.
Pixel Manipulation
Let’s explore how to access and modify individual pixels in an image. You can imagine the image as a 2D list of pixels, where each pixel has a color value. Remember that in RGB color model, each color is represented by three values: Red, Green, and Blue.
Here is a simple example that removes the red channel from an image:
from PIL import Image

# Load the image
image = Image.open('wikipedia-balls.jpg')
pixels = image.load()  # Create the pixel map

# Iterate through each pixel
for x in range(image.width):
    for y in range(image.height):
        r, g, b = pixels[x, y]  # Get the RGB values
        pixels[x, y] = (0, g, b)  # Set the red channel to 0

# Save the modified image
image.save('no_red_channel.jpg')
Notes.
The above code uses
pixels[x, y] = (0, g, b)to set the pixel color. Note the following:
- The brackets
( )around the values are important, as they create a tuple in Python. A tuple is similar to a list, but it is immutable (cannot be changed).- We used
pixels[x, y]to access the pixel at position(x, y). This a special syntax provided by the Pillow library. Do not confuse it with regular Python lists where you would usepixels[x][y].- In a 2D list,
[x][y]means rowxand columny, but in Pillow’s pixel access,[x, y]means columnxand rowy. Don’t get confused!
The result should look like this:
Try modifying the code to remove the green or blue channels instead!
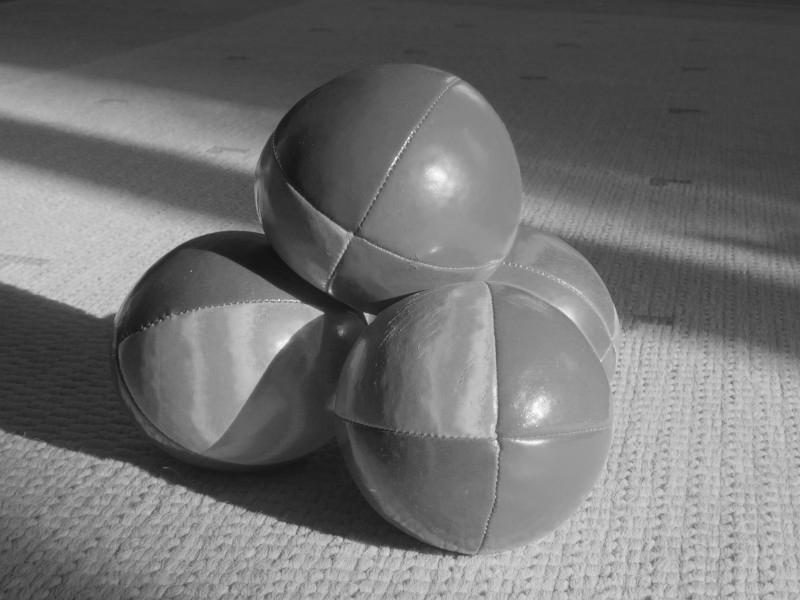
Changing To Grayscale
Did you notice that if the RGB values of a pixel are equal, the color appears as a shade of gray? For example, (50, 50, 50) is a dark gray, while (200, 200, 200) is a light gray.
We can use this property to convert an image to grayscale by setting each pixel’s RGB values to the same value, which is typically calculated as the average of the original RGB values.
from PIL import Image

image = Image.open('wikipedia-balls.jpg')
pixels = image.load()

for x in range(image.width):
    for y in range(image.height):
        r, g, b = pixels[x, y]
        gray = (r + g + b) // 3  # Calculate the average
        pixels[x, y] = (gray, gray, gray)  # Set to grayscale

image.save('grayscale_image.jpg')
Changing Color Brightness
Let’s define a function that receives an image and a brightness factor, and returns a new image with increased brightness.
To change the brightness of an image, we need to change the R, G, and B values of each pixel by multiplying them with the same factor. For example, if the factor is 0.5, the RGB values will be halved, making the image darker. If the factor is 2.0, the RGB values will be doubled, making the image brighter. If the resulting value exceeds 255, Pillow will automatically make it 255.
from PIL import Image

def change_brightness(image, factor):
    # Create a copy of the image to avoid modifying the original
    result = image.copy()

    pixels = result.load()
    for x in range(result.width):
        for y in range(result.height):
            r, g, b = pixels[x, y]

            # change the brightness
            r = int(r * factor)
            g = int(g * factor)
            b = int(b * factor)

            pixels[x, y] = (r, g, b)

    return result
Now, we can use this function to create a brighter version:
image = Image.open('wikipedia-balls.jpg')
brighter_image = change_brightness(image, 2.0)
brighter_image.save('brighter_image.jpg')
Or a darker version:
darker_image = change_brightness(image, 0.5)
darker_image.save('darker_image.jpg')
Fun With Animation
Let’s combine what we have learned about pixel manipulation and animation to create a fun effect. We will create an animation that gradually shows an image from black to full color.
We can achieve this by creating a series of frames where each frame increases the brightness of the image slightly more than the previous one. Here’s how we can do it:
from PIL import Image

image = Image.open('wikipedia-balls.jpg')

frames = []
for i in range(101):
    frame = change_brightness(image, i / 100)
    frames.append(frame)

frames[0].save('fade_in_animation.gif',
               save_all=True,
               append_images=frames[1:],
               duration=50,
               loop=0)
This code calls the change_brightness function 101 times with increasing brightness factors: first with 0/100 = 0.0 (completely black), then 1/100 = 0.01, then 2/100 = 0.02, until 100/100 = 1.0 (original image). The resulting frames are then combined into a GIF animation.
Creating this animation may take some time, as it involves processing 101 frames. You can reduce the number of frames by changing the range to
range(0, 101, 5)to create frames with a step of 5 instead of 1.
Here is the resulting animation:

Exercise: Modify the code to create a fade-out animation, where the image gradually fades to black.
More Fun with Animations
Read the following code and try to understand what it does. Then, run it to see the resulting animation!
from PIL import Image

def mystery(image1, image2, factor):
    pixels1 = image1.load()
    pixels2 = image2.load()

    result = image1.copy()
    pixels_result = result.load()

    for x in range(result.width):
        for y in range(result.height):
            if x / image1.width < factor:
                pixels_result[x, y] = pixels2[x, y]
            else:
                pixels_result[x, y] = pixels1[x, y]

    return result
If you understood the code, try to predict what the resulting animation will look like before running the following code:
from PIL import Image

image1 = Image.open('wikipedia-balls.jpg')
image2 = Image.open('grayscale_image.jpg')
frames = []
for factor in range(0, 101):
    frame = mystery(image1, image2, factor / 100)
    frames.append(frame)

frames[0].save('mystery_animation.gif',
               save_all=True,
               append_images=frames[1:],
               duration=50,
               loop=0)
This code creates an animation that transitions from the original color image to its grayscale version. The mystery function blends the two images based on the factor parameter, which determines how much of each image to show. As the factor increases from 0 to 1, more of the grayscale image is revealed from left to right, creating a smooth transition effect.
Here is the resulting animation:

Exercise: Try with different images to see how the effect changes. Make sure the images are of the same size, or resize them before using them in the animation.
Exercise: Modify the code to create a vertical transition instead of a horizontal one.